 will stedden
RASER Week 2: LED dimmers and switches
This lesson will extend our knowledge of electricity and resistance by adding variable resistors and switches.
To start I want to show a Variac autotransformer. The dial controls the amount of electricity getting to the light bulb. The light bulb lets us see the electric current running through it by going dimmer when the current is decreased.


In today's lesson we're going to learn about the resistor, a basic electronic component that can decrease the current in a circuit.
But before we get started learning more about resistors, let's review some basic facts about electricity
Understanding voltage, current, and resistance.
To start this lesson, we'd like to elaborate on some of the electrical concepts we introduced last week. We learned that electricity flows out of the battery from the plus end to the minus end. We also learned that along the way, the electricity can be used to light an LED or it can be burned up in a resistor.
The reason that the electricity flows out of the battery is that there is a difference in the number of electrons on one side of the battery compared to the other. The difference in energy between one side of the battery and the other is called a voltage. For electricity to flow there has to be a voltage difference because otherwise the electrons don't have any reason to flow through the wires. Voltage is measured in Volts.

The rate at which the electrons flow is called electrical current. If you have a higher voltage, the current will be higher because the electrons are being pushed more strongly. Current is measured in Amps.
The work done in the LED or the resistor is called the load or the resistance. Loads and resistors act to slow the electrons down. So as you increase the resistance you decrease the current through the circuit. Resistance is measured in Ohms.
To get more practice with these concepts, we'll build a few new circuits.
Rebuilding the LED circuit
First, let's rebuild our single LED circuit with a single resistor.
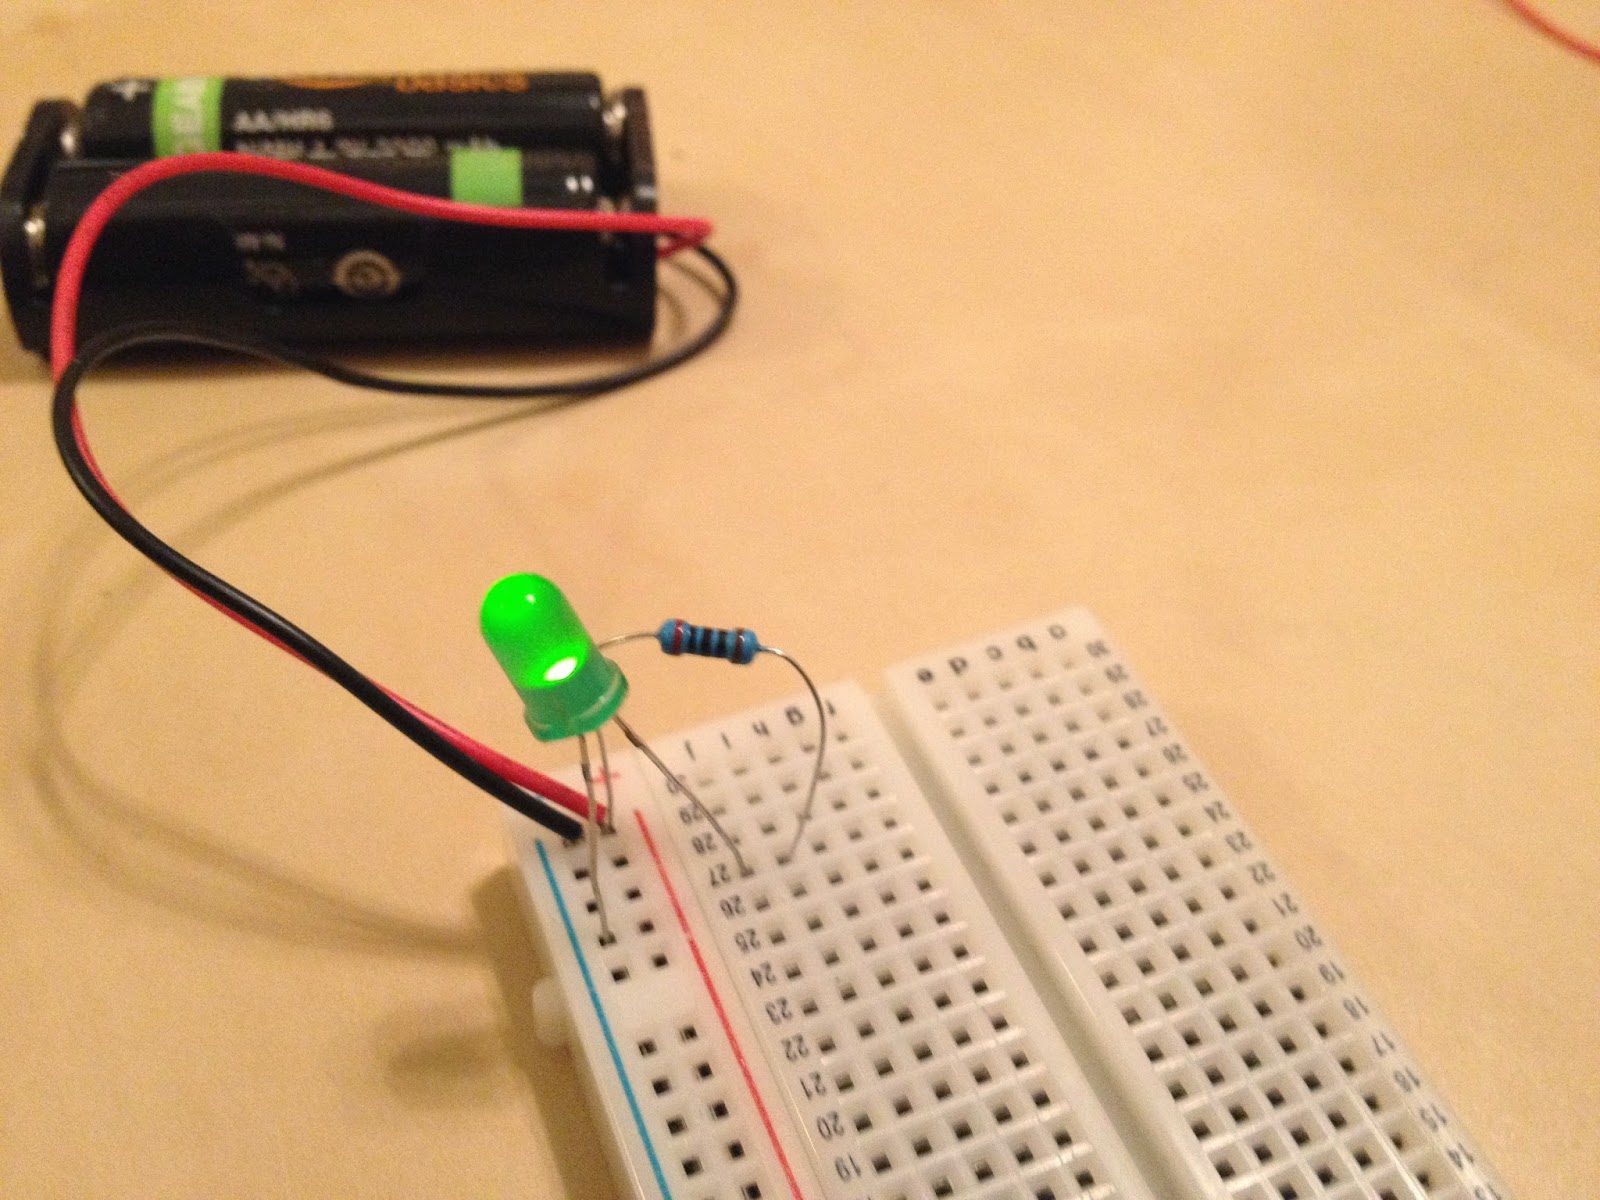
We can redraw the circuit like we did before, only now let's write in the voltages and resistances of the batteries and resistors.

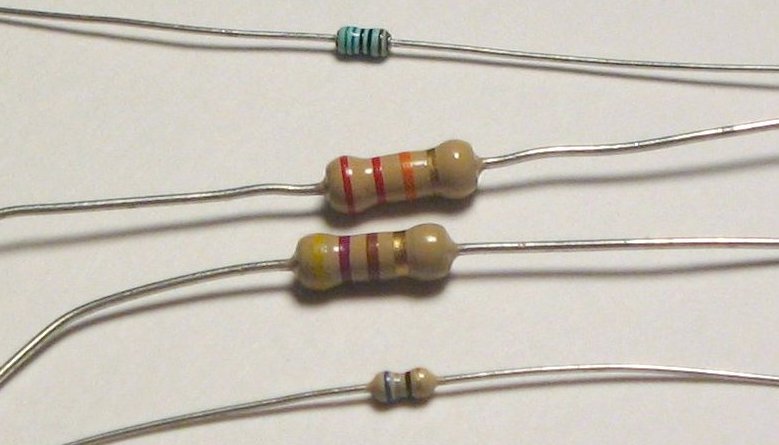
To find the resistor value we look at the pattern of colored bands on its side. We can input them into an online calculator or use a table like this one.

There's also some resistance that comes from the LED, but you can't tell how much just by looking at it. Later we'll learn how to find out the resistance from the LED using a mathematical formula.
Finally, we can measure the current through the circuit to see how fast the electrons are flowing. Hook up the multimeter into the circuit like in the picture. If the multimeter is set to read amps, you can see how many amps are flowing through the circuit. The higher the amps the faster the electrons are flowing.

Quick Quiz
If we replace our resistor with one that has a higher resistance, would the current get higher or lower? Check it by replacing the resistor and remeasuring the current with the multimeter.
Adding a variable resistor
The resistor provides a fixed resistance that can't be changed without switching that part out of the circuit. Next, we'll use a small variable resistor to change the resistance in our circuit with a dial.

We can remove the old resistor from the circuit and put the variable resistor in its place. Hook the circuit up to one inside pin and one outside pin on the variable resistor like in the picture. Now turning the dial changes the amount of resistance, which should change the brightness of the LED.
The mathematical relationship between voltage, resistance, and current
It turns out that for any electrical load, (like across the resistor or the LED) we can always find the current using Ohm's law.
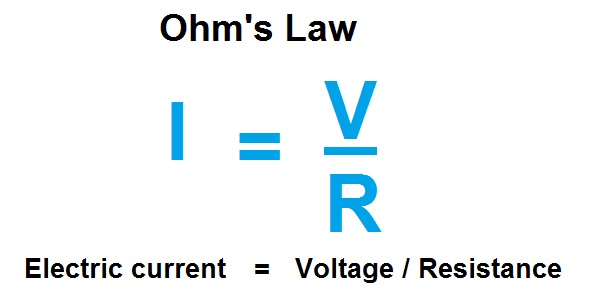
By rearranging this formula we can also get the resistance if we know the current. We can use this equation to calculate the resistance across the LED in the circuit we drew out above.
Finally, try using measurements of the current through the variable resistor to find out the resistance at different dial positions.
LED lightning game with switches and variable resistors
To end the lesson, we're going to replay the game from last lesson. This time we'll incorporate switches and dimmers to help us light up the right number of lights. And to make the game more challenging we can modify the game so you have to get the right voltage as measured on a multimeter.
As you go, try making the circuits more modular so you can modify them quicker. Try to incorporate switches or dimmers to make changes at the flip of a dial.