 will stedden
RASER Week 3: Arduino LED blinker
Electronics engineers can build really complicated devices by controlling when and where simple circuits turn on and off. For example, check out this flat screen monitor that I've opened up to see the inside. The monitor uses signals from the computer to turn on tiny spots on the screen, called pixels. By turning the correct pixels on and off at the right time, we perceive a moving image.
In the past lessons, we've started getting a sense about how electronic circuits work. But now it's time to start connecting them up to make something functional. Today, we're going to be using a programmable microcontroller called an Arduino to make our LEDs blink in patterns.

The Arduino
An Arduino is like a tiny computer that let's you measure signals and turn things on and off. To make it work you write a program which is uploaded to the device. The program tells the microcontroller to send and receive signals on pins. Then you connect the pins to sensors, lights, motors, and other parts.

The Arduino is capable of many things. To get started today, we're going to use it to power an LED light show.
Connecting an LED to the Arduino
First, we'll remake the LED circuit that we made earlier using a battery pack, a resistor, and a single LED.

Once that's working, we're simply going to replace the battery with power from the Arduino. We remove the battery pack and replace it with two wires connected to the Arduino. The plus should connect with the Arduino pin that says 3.3V, and the minus should connect with any of the Arduino pins that say GND.
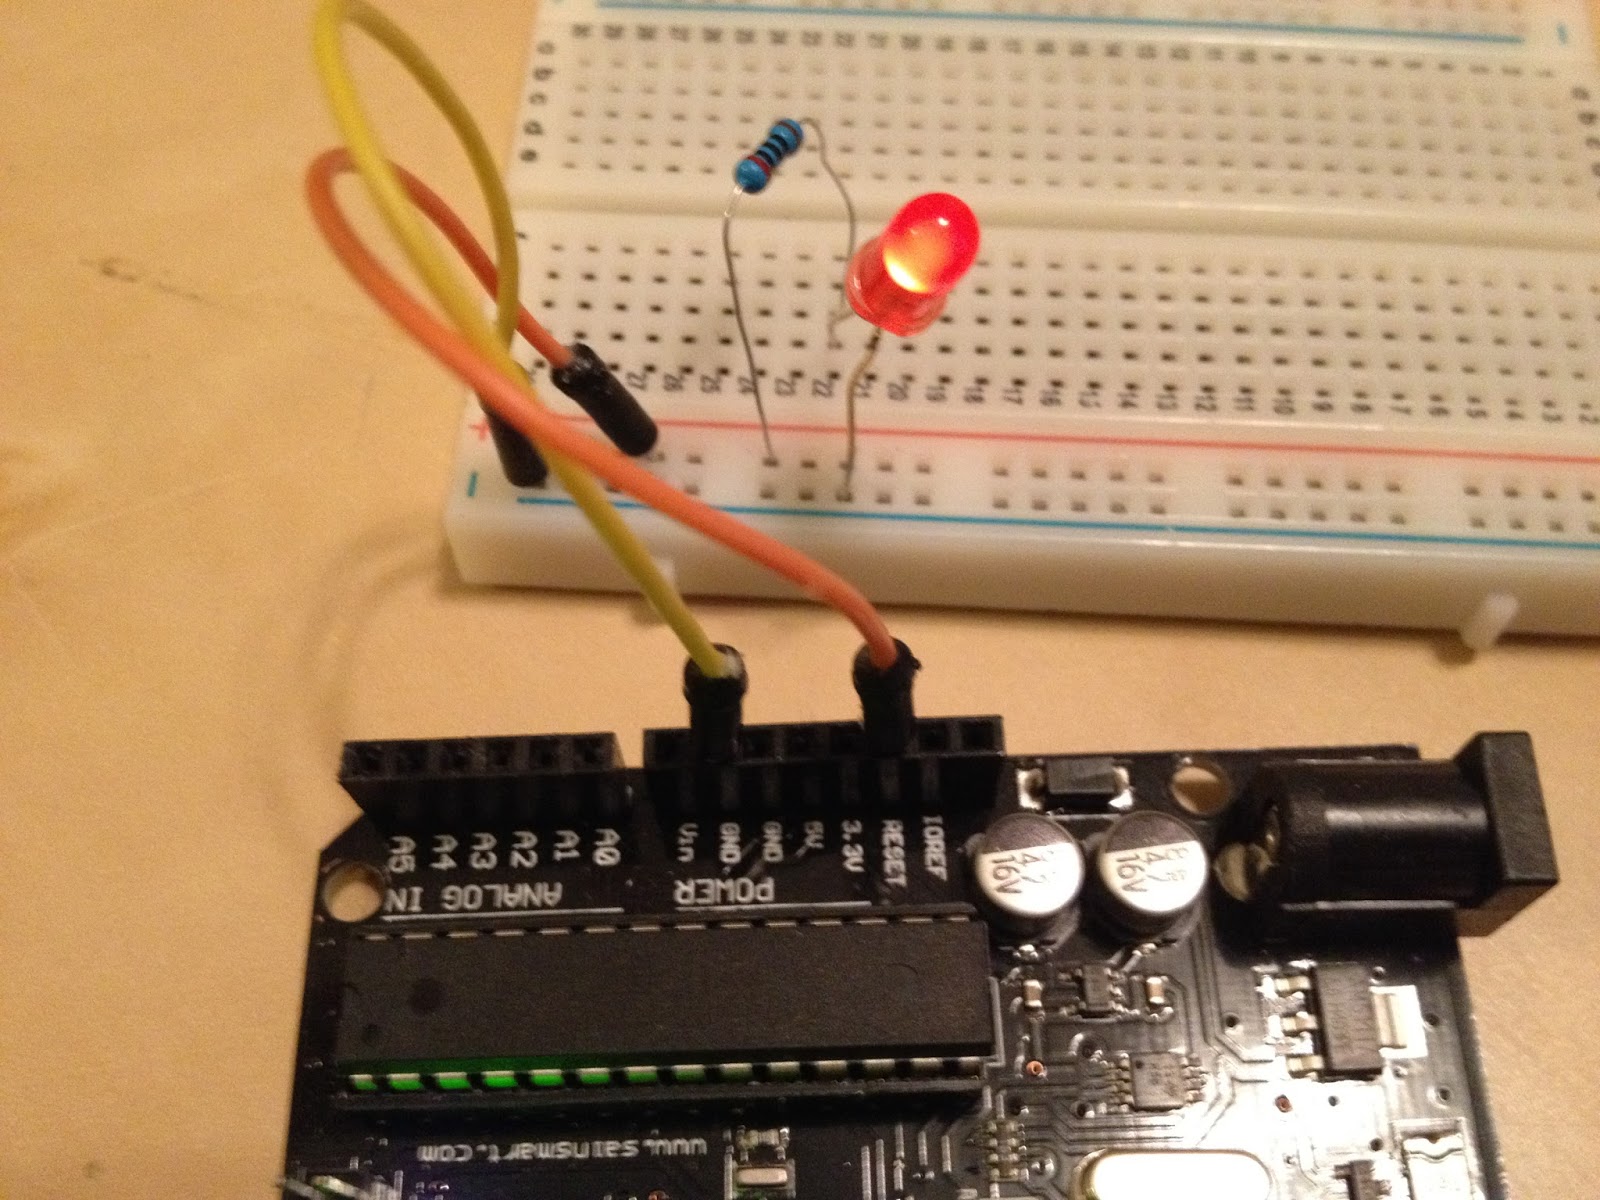
The LED should light up because the 3.3V pin on the Arduino also produces a voltage. Next we'll make the LED blink by connecting it to a pin that turns its voltage on and off.
Arduino Blinking LED
These Arduinos have been pre-programmed with a program that makes pin 13 blink on and off. We'll see how this programming works in a minute, but first, we'll test to see if we have our setup working.
To make the LED blink, remove the wire from the pin marked 3.3V and move it to the pin labeled 13. Wait a few seconds, to see if the LED starts blinking.

This is pretty cool, but right now, it's just one LED blinking on and off. Next we'll start programming the Arduino ourselves to see how to make it light up in cooler ways.
Programming the Arduino
We program the Arduino by writing code on the computer and uploading it to the microcontroller through a USB connection. We do this in the Arduino IDE software.
Let's view the code that made the LED blink. First we have to launch the Arduino IDE by finding it on the desktop(if it isn't there we'll need to download it). Next, click the Open File button and then find the program labeled "Blink." This is the program currently loaded onto our Arduinos.
// Pin 13 has an LED connected on most Arduino boards.
// give it a name:
int led = 13;

// the setup routine runs once when you press reset:
void setup() {
  // initialize the digital pin as an output.
  pinMode(led, OUTPUT);
}

// the loop routine runs over and over again forever:
void loop() {
  digitalWrite(led, HIGH);   // turn the LED on (HIGH is the voltage level)
  delay(1000);               // wait for a second
  digitalWrite(led, LOW);    // turn the LED off by making the voltage LOW
  delay(1000);               // wait for a second
}
The program repeatedly toggles the voltage on pin 13 from HIGH (on) to LOW (off). To upload the program we push the upload button on the Arduino program.
.png)
If you want to know everything about this program you can look at the Arduino's Blink Tutorial on their website. For right now, we just want to focus on changing how frequently the LED lights up. Right now the delay between events is set to 1000 milliseconds (that's equal to 1 second). Can you figure out how to change the blinking interval to be much faster or much slower? Try it out.
Finally, the only reason pin 13 blinks is because the program specifies pin 13 to blink. We can add more code to the program that causes another pin to do the same thing. Try to change the code so that another pin also can run a blinking LED.
The LED array
As the final challenge, try to to make a blinking LED array like this one.
If we set up enough of these, we could turn them into something like this!

But maybe that's a little ambitious for right now.